


So after 3 months in the hobby I have decided to upgrade to a larger tank. I have for the most part researched every aspect as far as equipment is concerned, although I am sure I have missed something. I am still working on my sump design, and will post what I have shortly.
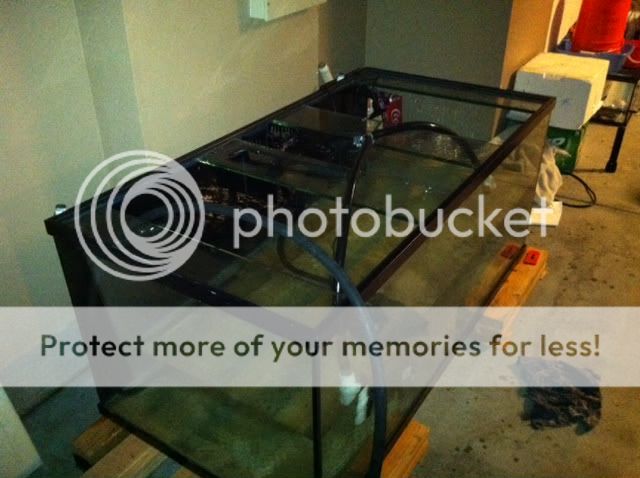
I want to thanks bvysochin for selling me this beautiful tank and stand. And sisterlimonpot,reefer87, and bvysochin for helping me lug this thing onto a trailer. Great workout by the way...
Current Tank: 60g non-reef ready tank
New TankTank: 60Lx24Tx30W-187g
Sump/refugium: 48x18x24-90g Design soon to come
Skimmer: SRO external 3000
Return pump: TBD
Pics to come!
Last edited by Sandman on Wed Jan 18, 2012 3:00 am; edited 2 times in total


 by the way you need an avatar there is no personality in the defult pic


